 Mold is a rapidly growing and swiftly spreading fungus that uses tiny, invisible spores to reach and colonize new territories. You would not even realize it when it takes over your home.
As long as oxygen and moisture are abundant in your property, mold will grow on virtually every surface they can find.
To minimize its destructive effects on wood, drywall, insulation, tiles, and fabrics, you should move quickly to remove mold as soon as you spot any growth.
As you do that, remember to protect yourself from the spores and take precautions to prevent them from spreading beyond the affected areas.
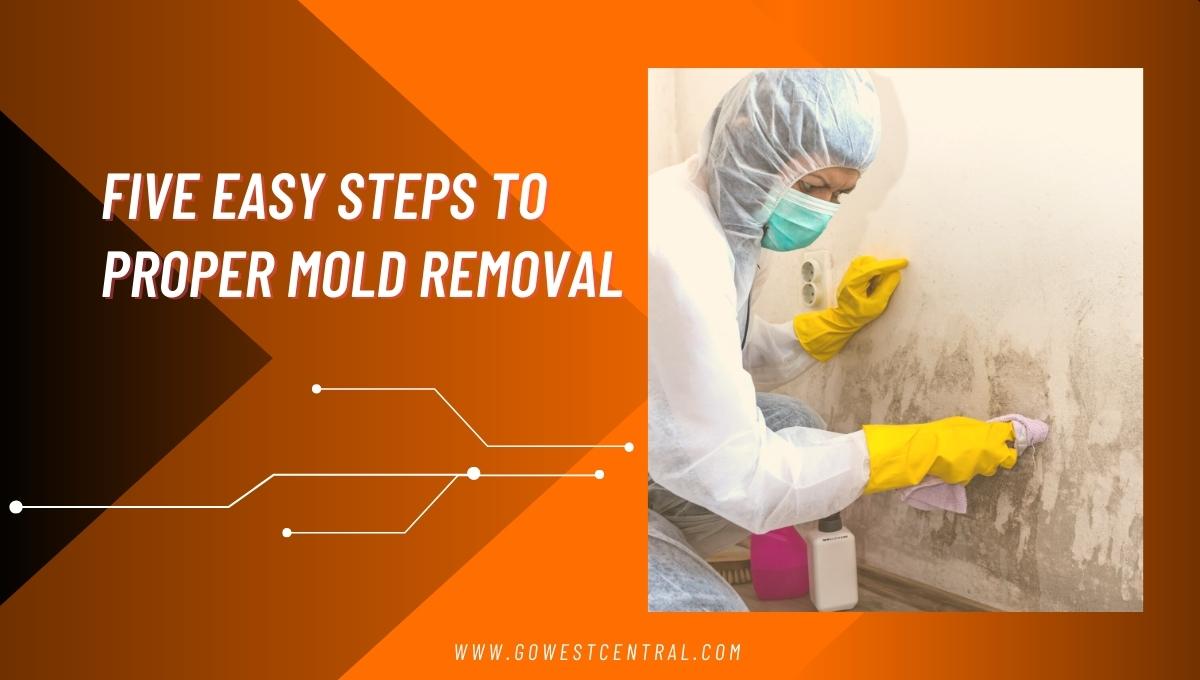
What are the 5 steps of proper mold removal?
- Identify and tackle any moisture problems in your home
Behind every mold growth, there is usually a moisture or water problem.
The first step in getting rid of mold is to know the moisture issues in your home. Identify where the moisture comes from, how it reaches your home, and how to eliminate it.
Check for both visible and invisible sources of moisture, particularly behind and around any mold growth that you can see. Also, check the corners and walls of your home.
Beyond removing the moisture, you should also seal the loopholes leading to increased dampness in your property.
- Develop a mold remediation plan
You must never start removing the mold without a proper remediation plan. You should carefully document the situation using videos, pictures, and writing to help you understand the magnitude of the problem.
Draw a plan that includes the scope of work needed to remove the mold thoroughly. Plan the when, how, and who to complete the removal and the techniques used.
Documentation and planning may even uncover existing mold trends in your home and help you devise effective prevention measures.
- Determine the extent of the mold remediation
Since mold grows and spreads quickly, the growth in your home may be far more extensive than the areas you can most readily detect.
Before you remove the mold, assess and determine the extent of the contamination. The degree of contamination will determine the approach you use to remove the growth.
There are three broad categories of mold contamination:
Level 1 contamination refers to small, isolated areas of mold growth, usually up to 10 square feet. For this level of contamination, you can remove the mold on your own.
Level 2 mold growth contamination covers an area of 10 to 30 square feet. You can still carry out remediation for this level of contamination on your own. Although, you will need better equipment, cleaning solutions, and techniques than for level 1.
When the growth is larger than 30 square feet, it is categorized as level 3 and usually requires professional mold remediation.
- Perform the actual mold removal
Now that you’ve identified the water source, fixed it, documented the degree of contamination, determined the extent of spread, and planned the remediation process, you can now remove the mold. Ensure to carry out the removal process without exposing yourself or other unaffected areas.
You should remove the mold by:
(a) Repairing the water problem to prevent mold spores from growing.
(b) Isolating the contaminated area by closing doors and windows between the contaminated area and unaffected areas. An easier way to achieve this is to cover all doorways and other openings with six mil polyethylene sheeting and seal all sheeting seams with duct tape.
(c) Misting the contaminated areas to suppress dust
(d) Removing all wet and mold-damaged porous materials
(e) Packing wet, moldy and damaged materials in plastic bags for disposal. The plastic bags should be at least 6-mil thick. Ensure the materials are double bagged and that the bags are tied to close them. Wipe the bags on the outside with a damp cloth and detergent solution and discard them in a regular trash can.
(f) Using a wire brush to clean all moldy non-porous materials and woody surfaces. The surfaces are then wiped with disposable wipes, discarded after use in 6 mil polyethylene bags, double-bagged, and tied closed.
(g) Scrubbing moldy surfaces with damp cloth and detergent solution, ensuring all mold growths are removed. The surfaces are rinsed clean with water. This is only appropriate for level 1 contamination.
For level 2, vacuum all the affected surfaces with a HEPA vacuum before cleaning the surfaces with a damp cloth and a mop with a detergent solution.
If it is level 3, professional mold cleanup is necessary. The wipes should be discarded as described above.
(h) Conducting a visibility test on all the cleaned areas to confirm they are free of contamination and with no dust and dirt.
(i) Drying all the cleaned materials and surfaces to ensure that all leftover moisture evaporates. You can speed up the drying process by using dehumidifiers or raising the indoor air temperature.
(j) Replacing or repairing all materials that were moved.
- Confirm whether the mold cleanup has been successful
Now that the mold is gone and there is no dust or dirt, you need to verify that your cleanup efforts have been successful. You can do this by running various tests. Simple procedures include:
- Checking for the absence of mold odors.
- Checking if the moisture problem has been successfully fixed.
- Confirming that there are no visible signs of mold and mold-damaged materials.
For thorough testing, you should hire a professional environmental testing company to run advanced tests to rule out the presence of mold spores in your home.
Thorough, trustworthy mold removal
Would you like help with mold removal in your property, particularly widespread contamination?
At West Central Equipment and Restoration, we believe in swift, meticulous mold removal that leaves no visible mold, mold-damaged materials, moldy odors, or moisture problems.
We can help you implement a comprehensive mold remediation strategy that will ensure you occupy or re-occupy your home without adverse health problems. We will respond fast enough and do the cleanup right the first time.
For more information on the prevention and removal of mold, call West Central Equipment and Restoration today!